Physical address: 6296 Donnelly Plaza Ratkeville, Bahamas.
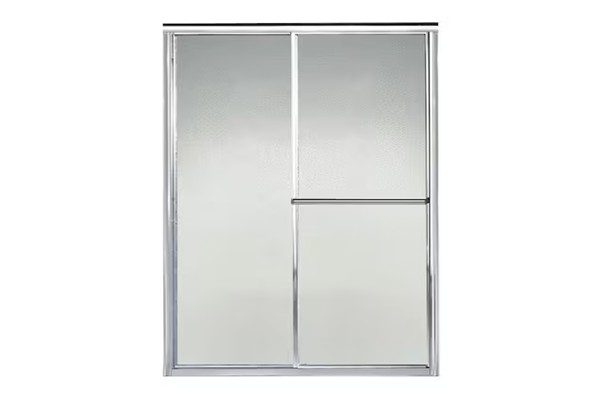
Installing New Shower Doors Step By Step
Shower door upgrades add value and a modern look to any out dated bathroom. Here we will guide through the process step by step.
Shower Door Installation Prep
Preparing for the install should be a priority. Accurate measurements the proper tools and planning set the stage for a quality install.
Let’s start by first measuring your existing shower door opening. Measure height and width of the opening. Do this in a couple of different spots starting at the bottom, middle then top as some openings are not always the same.
Gather Your Tools And Materials
• A power drill • Drill bits (for tile and drywall) • Level • Measuring tape • Pencil • Safety glasses • Gloves • Caulk gun • Silicone sealant • Shims Also, these materials will be needed: • New shower door kit • Screws • Anchors
Note: Sealant keeps water from leaking through the door frame. Buy a high quality 100% silicone sealant.
Understanding The Installation Instructions
Important! Read the entire instruction manual that came with your new shower doors. Each new set of doors will have specific instructions for that particular door install, care and maintenance.
Remove The Old Shower Door Or Curtain
Carefully remove the old shower doors avoid damaging the walls. Remove any screws and disconnect the door hinges being careful not to break the glass. For safety wear gloves. Take out the door panels and remove the bottom and side door tracks. You may need a putty knife to separate the silicone attached to the enclosure. Old aluminum framed shower doors can be recycled check with your local hardware store for a location.
Installing The New Shower Doors
First you will need to mark the placement of the pilot holes for the frame anchors and mounting screws. While hold the frame in place use a level to make sure it’s straight. Then mark where the holes go. The frame should already have holes for mounting to the wall.
Pick the right drill bit size. It should match your anchors. Drill slowly. Be extra careful if the wall surround is tile. Tile requires are masonry drill bit.
Attaching the Frame to the Walls
An optional bead of silicone can be placed under the wall tracks to aid in sealing the track but is not required. Put the anchors into the holes. Then, screw the wall frames to the wall. Keep checking that it’s level. Use shims to fix any wall problems. Make sure that the wall tracks line up properly. Follow the manufacturer’s instructions.
Installing The Door Track (if applicable)
Bi-pass sliding glass shower doors need tracks which come in the kit. Put these at the top and bottom. Make sure they line up perfectly. You may have to cut the tracks to fit your application. This can be done with a hacksaw. Fasten the track tightly to the frame. Adjust it so the door slides smoothly. Once this is done you can drill a small hole through the frame into the track and put a screw in it to keep them secure.
Installing Sliding Shower Doors
(Bi-pass Doors) Attach the rollers to the door panels following the manufacturer’s instructions. Then, carefully lift each door into the proper track. They should move easily and smoothly. Adjust the rollers to get them perfect. Do not grease the rollers.
Installing Hinged Shower Doors
Attach the supplied hinges to both the door and frame. Ensure everything lines up. Then lift the door into place and secure the hinges get some help if needed. Open and close the door. It should swing freely. No sticking or rubbing.
Sealing And Waterproofing
Silicon sealant keeps water out. Apply the sealant along the entire bottom and side tracks where the track meets the enclosure.. Do this on the exterior and interior of the tracks. Smooth with your finger as you go for a nice beautiful seal. Earlier we mentioned you can place a bead of sealant under the track for extra protection.
Cleaning and Polishing
Clean the glass with glass cleaner. Polish the frame and you are done. It is a good idea to check the sealant every 6-12 months and reseal as needed.